
I had an order placed for another owl tea cosy, this time in blue. Over the weekend hubby was home, so my assistant was outside "helping" him to do some car stuff on Saturday, which left me with B-man who slept for a couple of hours. Yay! It was so good! I got most of the tea cosy complete in that sleep, so it was started and finished all in one day...almost un-heard-of in my house.
I guess you want to see it hey?

And here's how I did it. Maybe one day I'll make it into a proper PDF pattern and others can use it too.
First I chose some of my awesome fabrics to use.
I also went through some bits of fusible webbing, which have been left over from other projects, to find some bits big enough for all the parts of the owl.
It's a good idea to trace the shapes onto the paper backing with a little bit of space around each.
When I had all the shapes on there I cut each one out, but, NOT on the line.
Then I ironed each piece onto the reverse side of the fabrics. I love this particular pattern because I can use some of the smaller off-cuts from previous projects for the owls face. You can see that I've used some of these bits for similar projects before.

Next I cut around each shape, this time ON the line I drew earlier.

When I had cut them all out I laid them together to figure out the placement of each one and then started to pull the backing away to iron them in place. I always use another cloth over the top to protect my iron from any of the glue in the webbing. I know a few people who have forgotten to do this and have always regretted it.

Once they were all together I started to stitch around the shapes. I used a blanket stitch function on my machine. I have been known to do it by hand as well, but the machine is a much quicker option.
Then I added some matching button eyes.

Because I like to be able to use the teapot while the cosy is on, I added a little elastic loop to the front of the owl, near the lower edge.

I also added some buttons to the back of the owl for the elastic to loop around.

Then I laid the outer pieces and lining pieces right sides together with a layer of wadding on the wrong side of the outer piece, so it would be in the right place when I turned all the layers through at the end.
I stitched through all the layers along the straight edges.

Then I measured up from the edge and pinned where I would need to stop stitching. I needed to leave the top un-stitched as it will be joined to the other half there.

I stitched both pieces up to those pins.

When I had both pieces ready, I stitched the 2 outer pieces (front and back of the owl) right sides together down to where the pins were.

Here is the other side, where I stitched the two lining pieces together, again only as far as the pins. I left open the top for turning.

I turned the whole thing right-side-out through that opening and then I pinned the layers all together to top-stitch around.

I stitched around the whole bottom edge and up the open sides. At the top of the splits I stitched a bar across (like you might at the end of a zipper), then back down the other side of the split.

I'm not sure why I left this next step 'til now, but anyway, I pinned the opening in the lining closed.

Then I stitched it closed. I did it by hand so no-one would be able to see it. It will be tucked into the cosy anyway, but I'm a bit picky like that with some things...unfortunately not when it come to things like cleaning the house...mmm.

Once it was all stitched up I poked it inside the cosy and pushed around the edges at the top to make it a smooth round curve.

And voila, just that like it was done! Hahaha, well, in a couple of hours anyway...
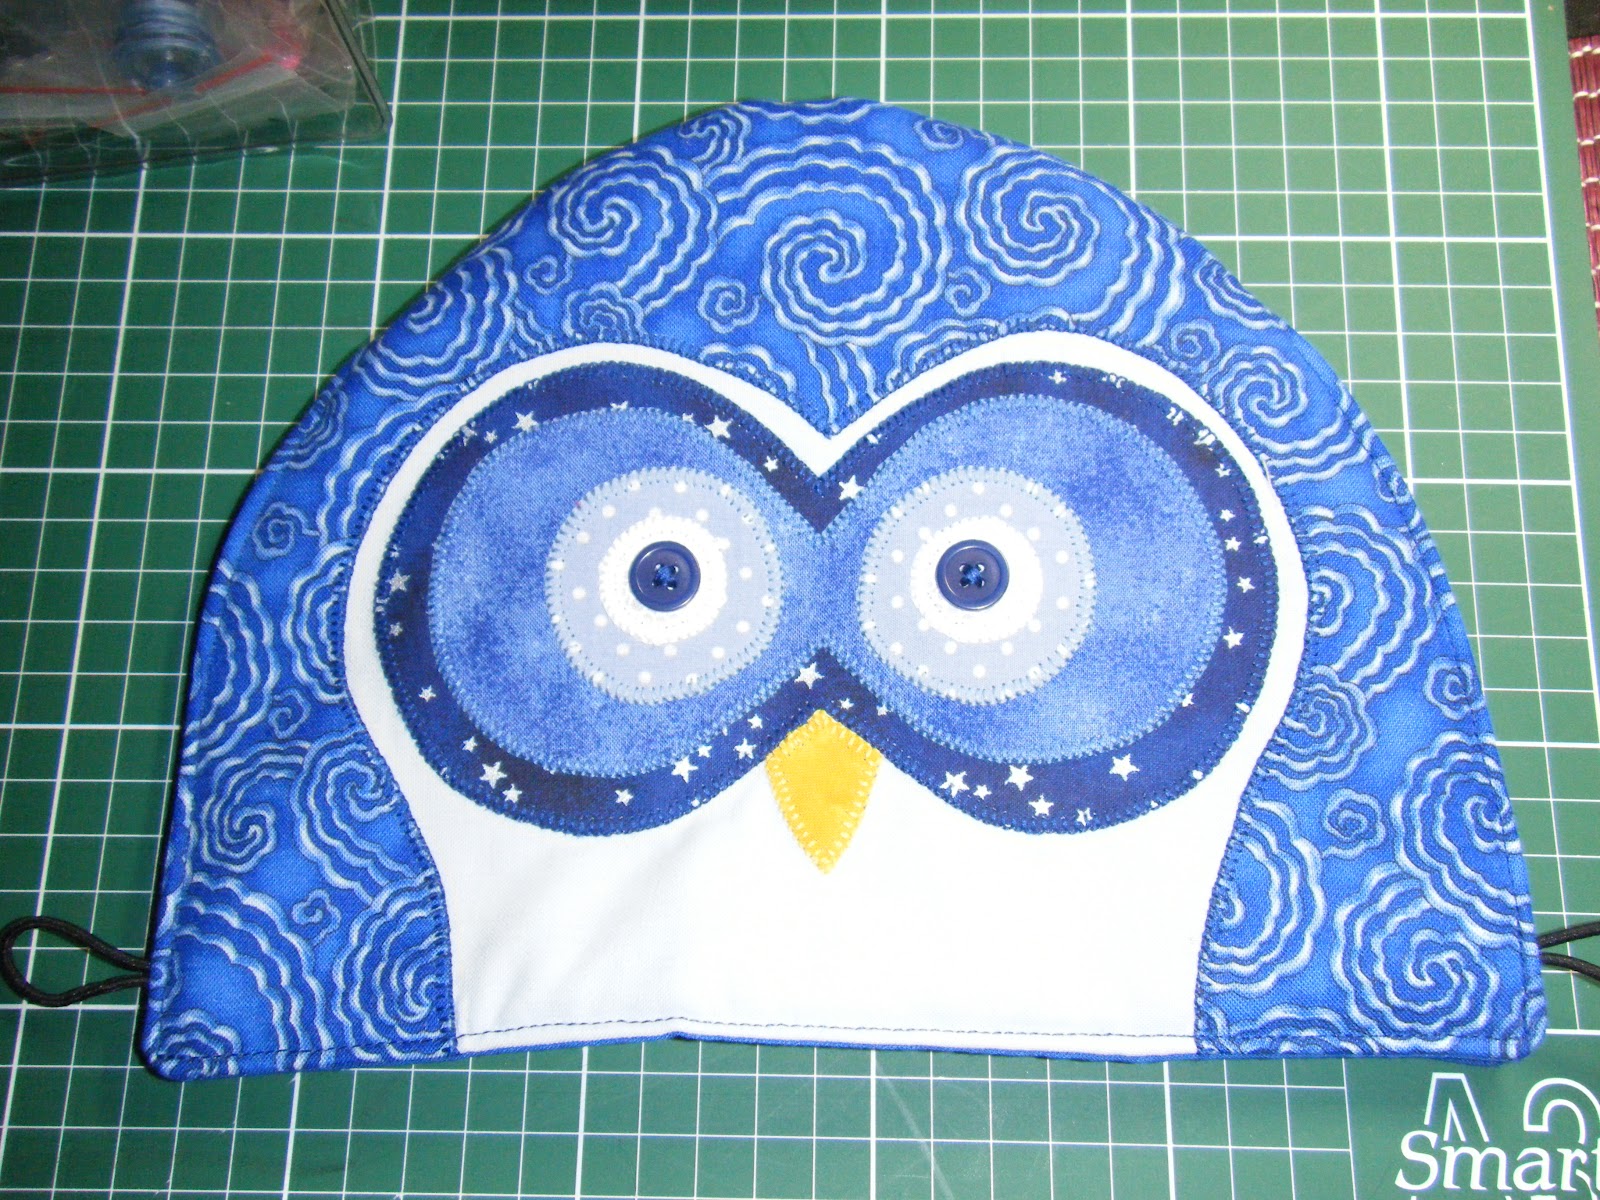
So there you have it, my second owl tea cosy.

In case you missed it before, HERE is the first one.
I hope you enjoy reading about the things I've been doing.
Oh, I just remembered, a couple of weeks ago I entered some competitions on Janelle Wind's blog and I won!! Today when I checked the mail my prize was there!! How exciting! It's an apron pattern, so I'll have to get back to you when I've made one. Yay!!
No comments:
Post a Comment